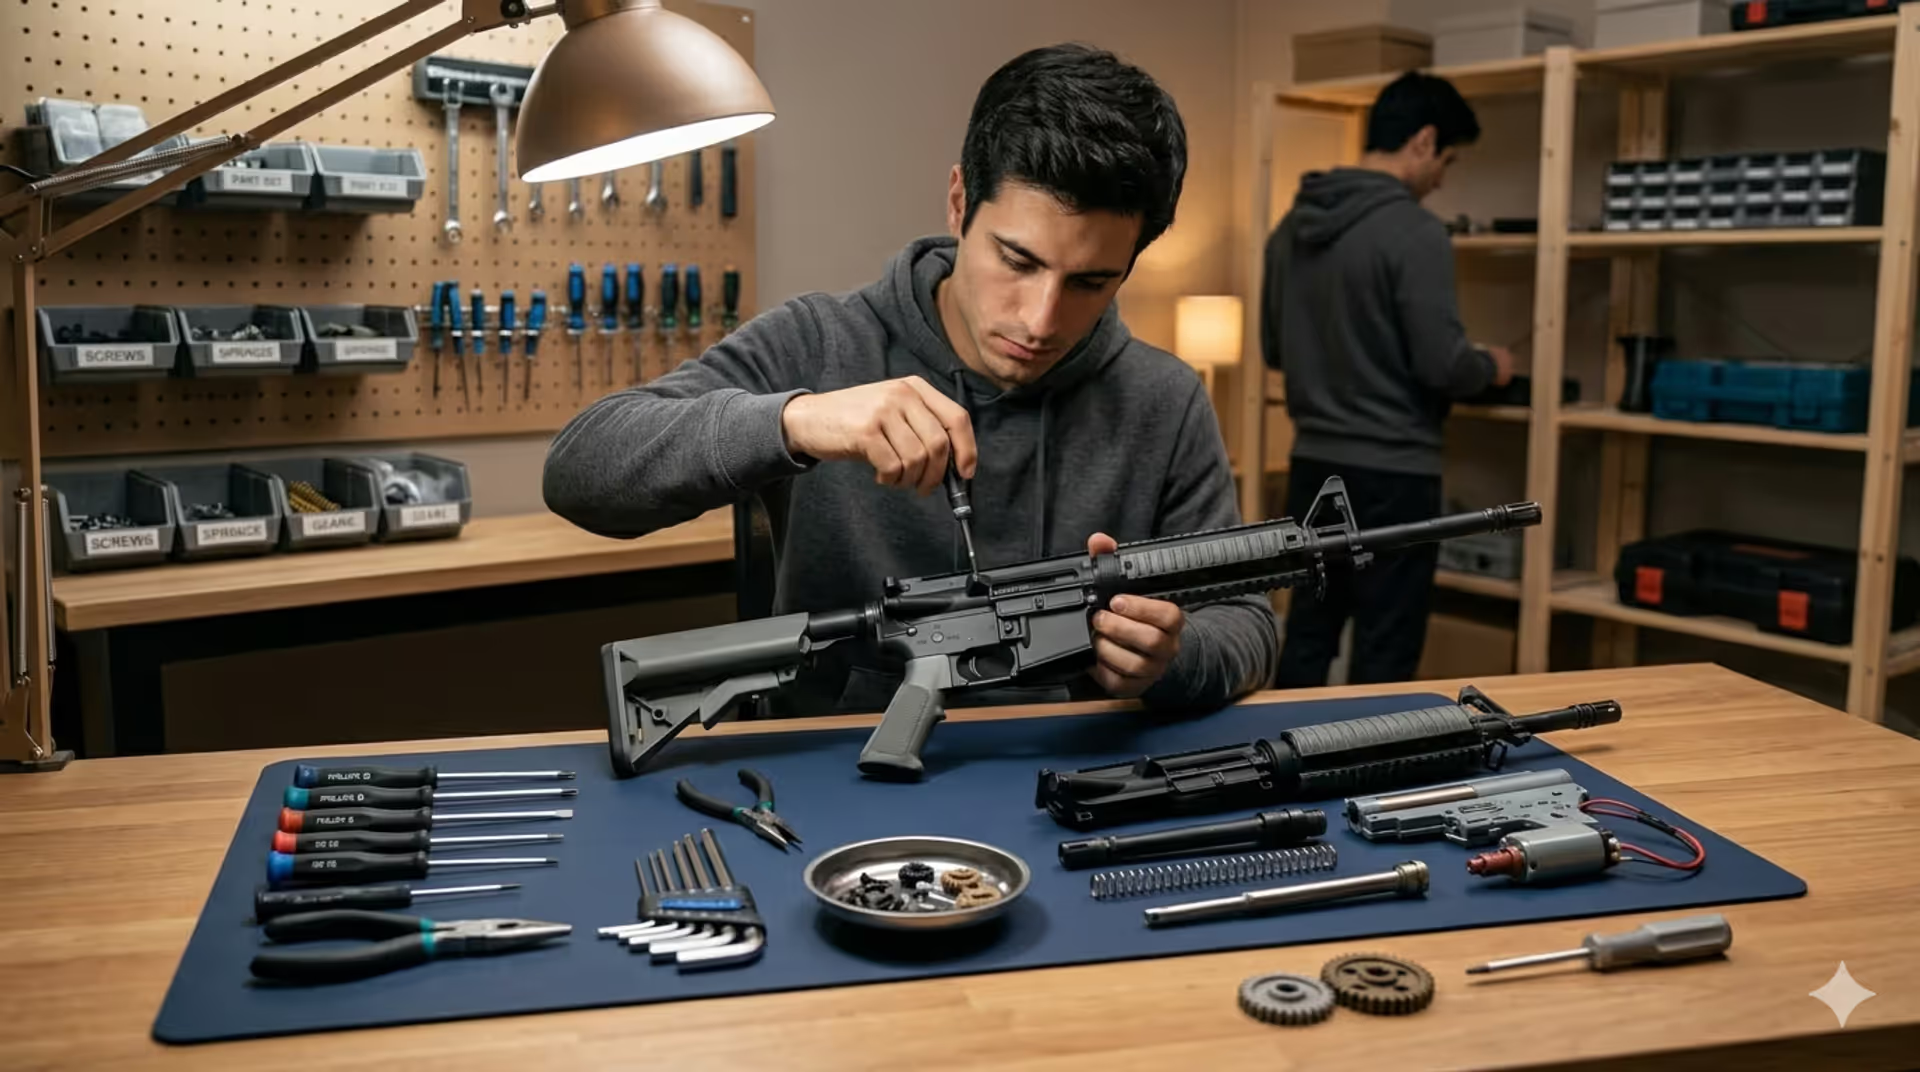
Person disassembling gel blaster with tools on workbench
How to Upgrade a Gel Blaster?

Content
Ever fire a stock gel blaster and think "this could hit harder"? You're not alone. Most factory models prioritize keeping costs down over actual performance—which means there's plenty of room to make yours better.
The good news? You don't need to drop $400 on a premium model. Strategic upgrades can turn a $120 blaster into something that shoots like a $350 rig. I'm talking tighter shot groups, higher velocity, and parts that actually last.
We're going to cover everything from basic spring swaps you can do in an hour to full custom builds that require a weekend. No fluff—just what works, what doesn't, and what you'll actually notice when you pull the trigger.
Why Upgrade Your Gel Blaster
Factory blasters get assembled on timelines measured in minutes, not hours. That rush shows up in your accuracy and FPS numbers.
Most manufacturers spec their parts to hit "good enough" without breaking immediately. Your stock spring? Probably the cheapest option that won't snap in the first 500 rounds. That barrel? Cut to a tolerance that keeps production moving fast. Nothing's optimized—it's all about shipping units.
Here's what actually changes when you upgrade the right parts. A decent spring swap gets you 30-50 more feet per second without touching anything else. Add a precision barrel and better hop-up, and you're looking at groups that shrink from dinner-plate-sized at 75 feet down to something you could cover with your fist.
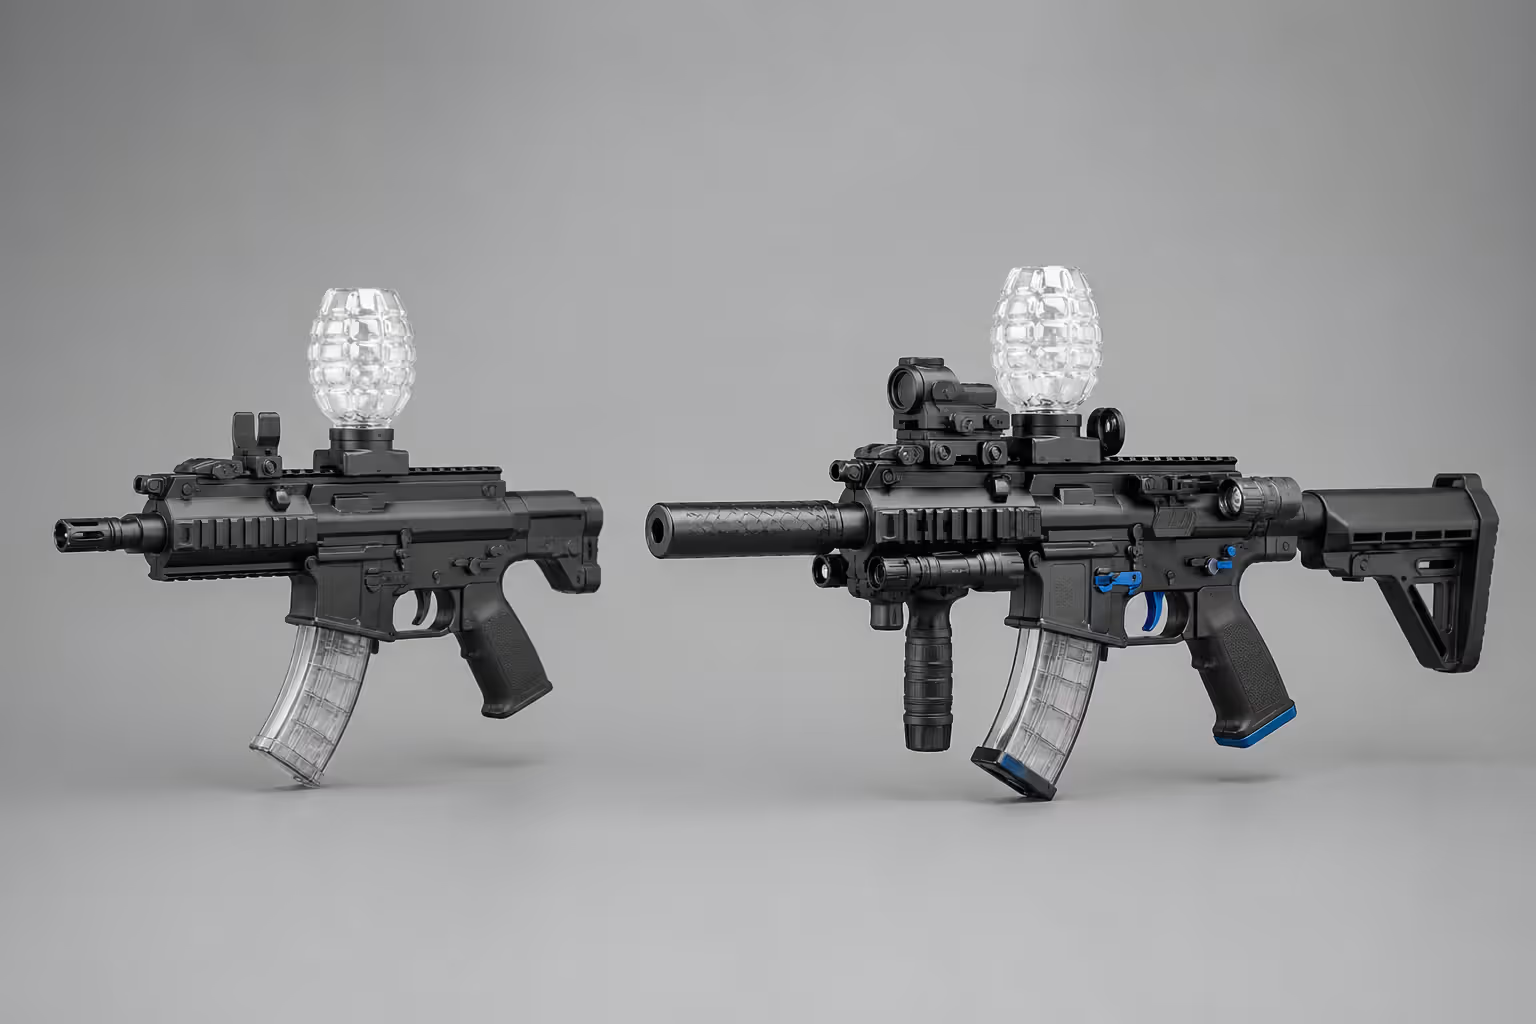
Custom gel blasters let you build for exactly how you play. Maybe you need whisper-quiet operation because your neighbor complains. Or you're running tournament games where trigger response wins firefights. Could be you're hard on gear and need parts that survive getting dropped. Browse retail sites all day—you won't find that specificity.
Let's talk money. If you've already got a solid base model (something with a metal gearbox and decent externals), throwing $80-100 at upgrades beats buying up. That combo typically outperforms anything you'd get for $300 retail.
Author: Brandon Kesswick;
Source: lakestaytents.com
But don't upgrade junk. If you started with a $40 plastic-fantastic special, save your money. The receiver and basic components can't handle performance parts anyway.
There's something satisfying about tearing down your blaster, installing new components, and having it actually work when you reassemble everything. You learn how these things function, where problems come from, and how to fix issues yourself instead of shipping stuff back to manufacturers.
Essential Tools and Safety Precautions
You need proper tools. Period. Try upgrading with whatever's in your kitchen drawer and you'll strip screws, lose tiny parts, and probably crack something plastic.
Grab these basics: - Precision screwdrivers (Phillips #0, #1, #2 plus flatheads) - Hex keys from 1.5mm up to 5mm - Needle-nose pliers - Wire cutters and strippers - Electrical tape - Teflon grease—get the stuff made for gears and O-rings - Small containers or magnetic tray for screws
For serious gel blaster mods, add: - Soldering iron with solder (if you're doing motor swaps) - Chronograph so you actually know your FPS - Multimeter for electrical troubleshooting - Spring compression tool (way safer than wrestling springs with pliers)
Set up somewhere with good lighting and a clean surface. I use a white towel—sounds simple, but it's the difference between finding that tiny screw that pinged across the table or spending 20 minutes on your hands and knees. Magnetic parts tray helps too.
Take photos. Seriously. Take a picture before you remove each component. Your brain will absolutely not remember which screw came from where three hours later when you're reassembling.
Don't skip safety gear. Compressed springs launch themselves with enough force to cause real eye damage. Always wear impact-rated safety glasses—the $8 ones from the hardware store work fine. Disconnect your battery before opening anything. Just do it.
LiPo batteries deserve respect. Puncture one and you've got a fire. Short the terminals and same result. Store them in fireproof bags, never leave them connected when you're done playing, and if one puffs up or gets damaged, take it to a proper recycling center.
When you're taking things apart: Go slow. Most blasters use 15-30 screws in different lengths. Mix up a 12mm screw where an 8mm goes and you'll have alignment problems that'll make you crazy. Keep screws organized by location. Watch a disassembly video for your specific model first—learning from someone else's mistakes beats making your own.
Spring Upgrades for Increased FPS
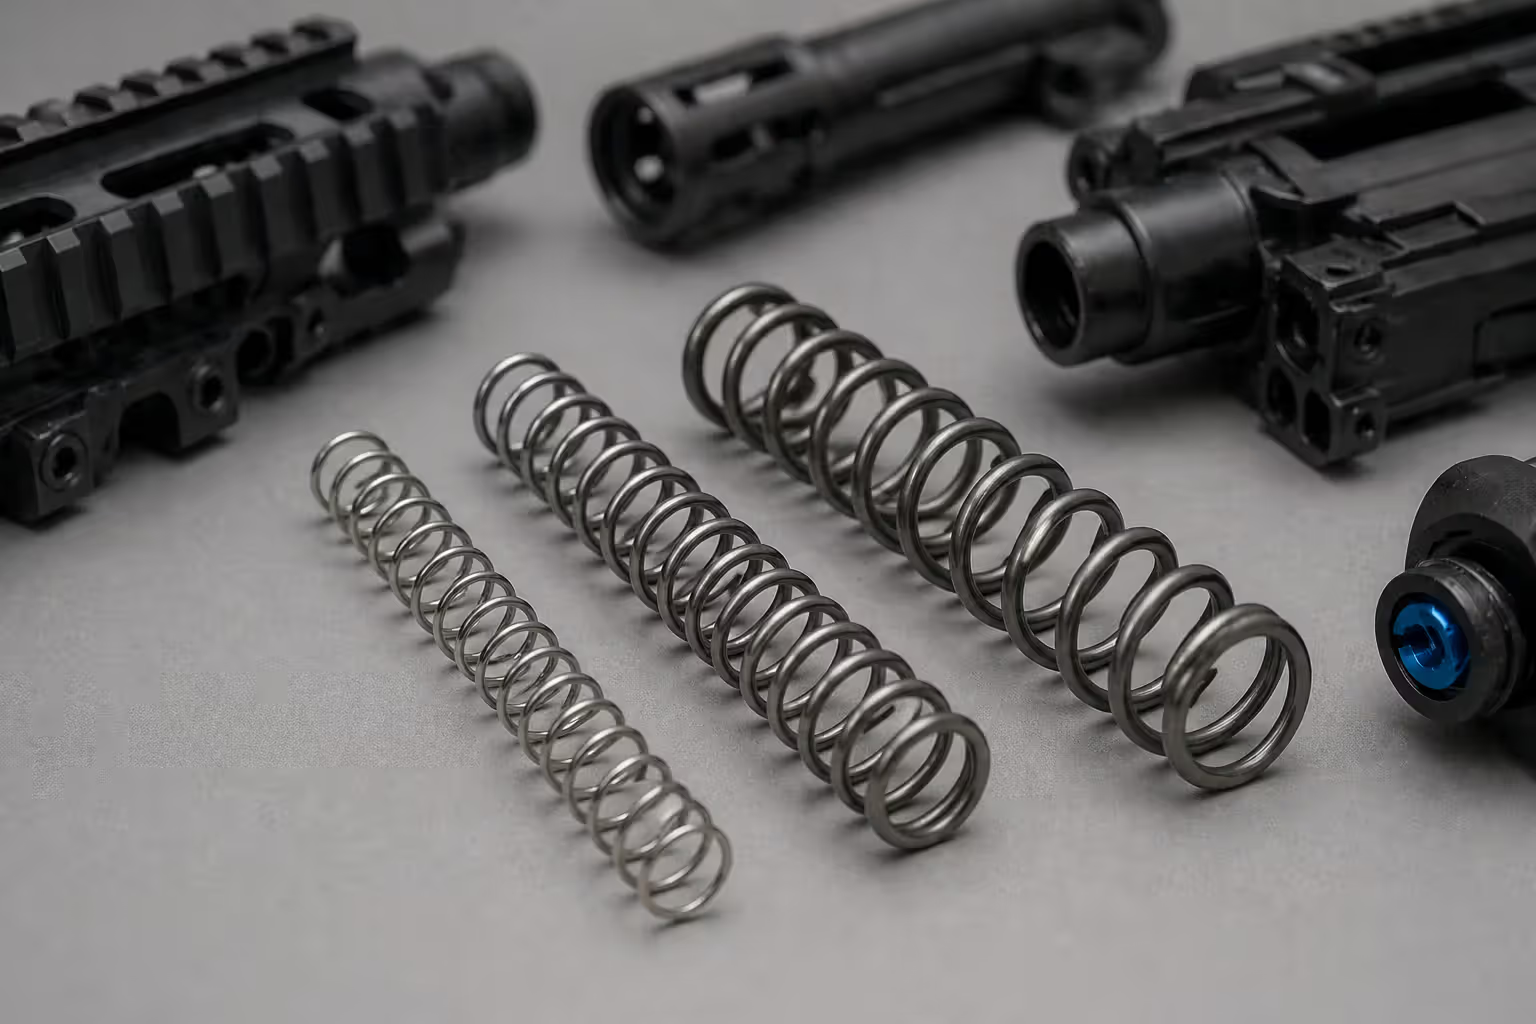
Springs are the simplest way to boost your velocity. They're the muscle that drives your piston forward, compressing air that launches the gel ball.
Author: Brandon Kesswick;
Source: lakestaytents.com
Stock springs typically measure around 0.8-1.0mm wire thickness. They'll push your blaster to maybe 150-180 FPS. Upgrade to 1.2-1.4mm wire diameter and you're looking at 220-280 FPS, depending on what else you've got inside.
Picking the right spring strength matters more than just "bigger is better." Got a plastic gearbox? Don't exceed 1.2mm wire thickness unless you enjoy buying replacement parts. Those plastic shells crack under heavy spring tension—usually right when you're in the middle of a game.
Metal gearboxes handle 1.4mm springs, but you'll probably need a reinforced piston and better cylinder head to back it up.
Think about where you actually play. Indoor arenas around here cap blasters at 200 FPS for safety reasons. Outdoor fields might let you run 300 FPS. Installing a spring that breaks field limits just means you can't use it.
Here's how the install works:
- Pop the shell off and find your gearbox
- Remove the gearbox (usually 4-6 screws holding it in)
- Open the gearbox carefully—those gears will try to escape if you're not paying attention
- Check how the original spring sits and where the guide rod goes
- Compress the old spring (hands work, but a compression tool is safer)
- Pull it off the piston and guide
- Put the new spring on the same way
- Get the gearbox back together, making sure gears mesh right
- Test fire before you close up the shell
Compatibility isn't guaranteed. Those M90, M100, M110 ratings tell you wire strength, but they don't promise the spring will physically fit your blaster. Measure your stock spring's dimensions before ordering. Some models use weird spring guides or have cramped gearbox spaces that won't accept longer springs.
One more thing—a gel blaster spring upgrade by itself might overstress everything else. Pistons with plastic teeth strip out fast under extra force. Weak cylinder heads crack. Budget another $20-40 for supporting components if you're jumping 30+ FPS above stock specs.
Motor and Gearbox Modifications
Your motor turns battery power into rotation, spinning the gears that compress your spring. Stock motors use cheaper magnets and bushings that limit what they can actually do.
Motors come in three flavors:
High-torque motors pull stronger springs without killing your battery. They're slower on trigger response but won't burn out under heavy loads. Go this route if you're pushing past 250 FPS or using springs that stress stock motors.
High-speed motors maximize your rate of fire—think 25-30 rounds per second versus the stock 15-18 RPS. They need beefier batteries and generate serious heat. Great for competitive play where volume of fire wins engagements.
Balanced motors split the difference. Moderate gains in both torque and speed without extreme specialization. Solid choice for general upgrades.
Gearbox ratios multiply your motor's output. Standard setups run 18:1—that's 18 gear rotations for every piston cycle. High-speed configurations drop to 12:1 or 13:1. High-torque builds go up to 22:1 or even 32:1.
Changing ratios means replacing all three gears—sector, spur, and bevel. You can't mix and match. Gear timing gets screwed up and teeth strip. Match your ratio to your motor: speed motor with speed gears, torque motor with standard or torque gears.
Heat becomes a real problem with gel blaster motor upgrades. Better motors pull more current, creating heat that degrades magnets and melts wire insulation over time. Look for motors with built-in heat sinks or add aftermarket cooling fins. Take breaks during long play sessions—10 minutes of cool-down every hour helps a lot.
Installing a new motor:
- Access it through the pistol grip on most models
- Disconnect the motor wires (note which wire goes where)
- Unscrew the motor mounting plate
- Pull the old motor and check the pinion gear height
- Install the new motor at that same height
- Adjust motor position so the pinion meshes smoothly with the bevel gear—too tight and it grinds, too loose and it strips
- Reconnect wires with correct polarity
- Test before you close everything up
Replacing gearbox gears requires full disassembly. This isn't beginner territory—improper shimming (spacing gears with thin washers) creates friction that kills components fast. Unless you're mechanically confident, pay someone for your first gearbox upgrade. Watch and learn, then tackle it yourself next time.
Barrel Upgrades for Accuracy and Range
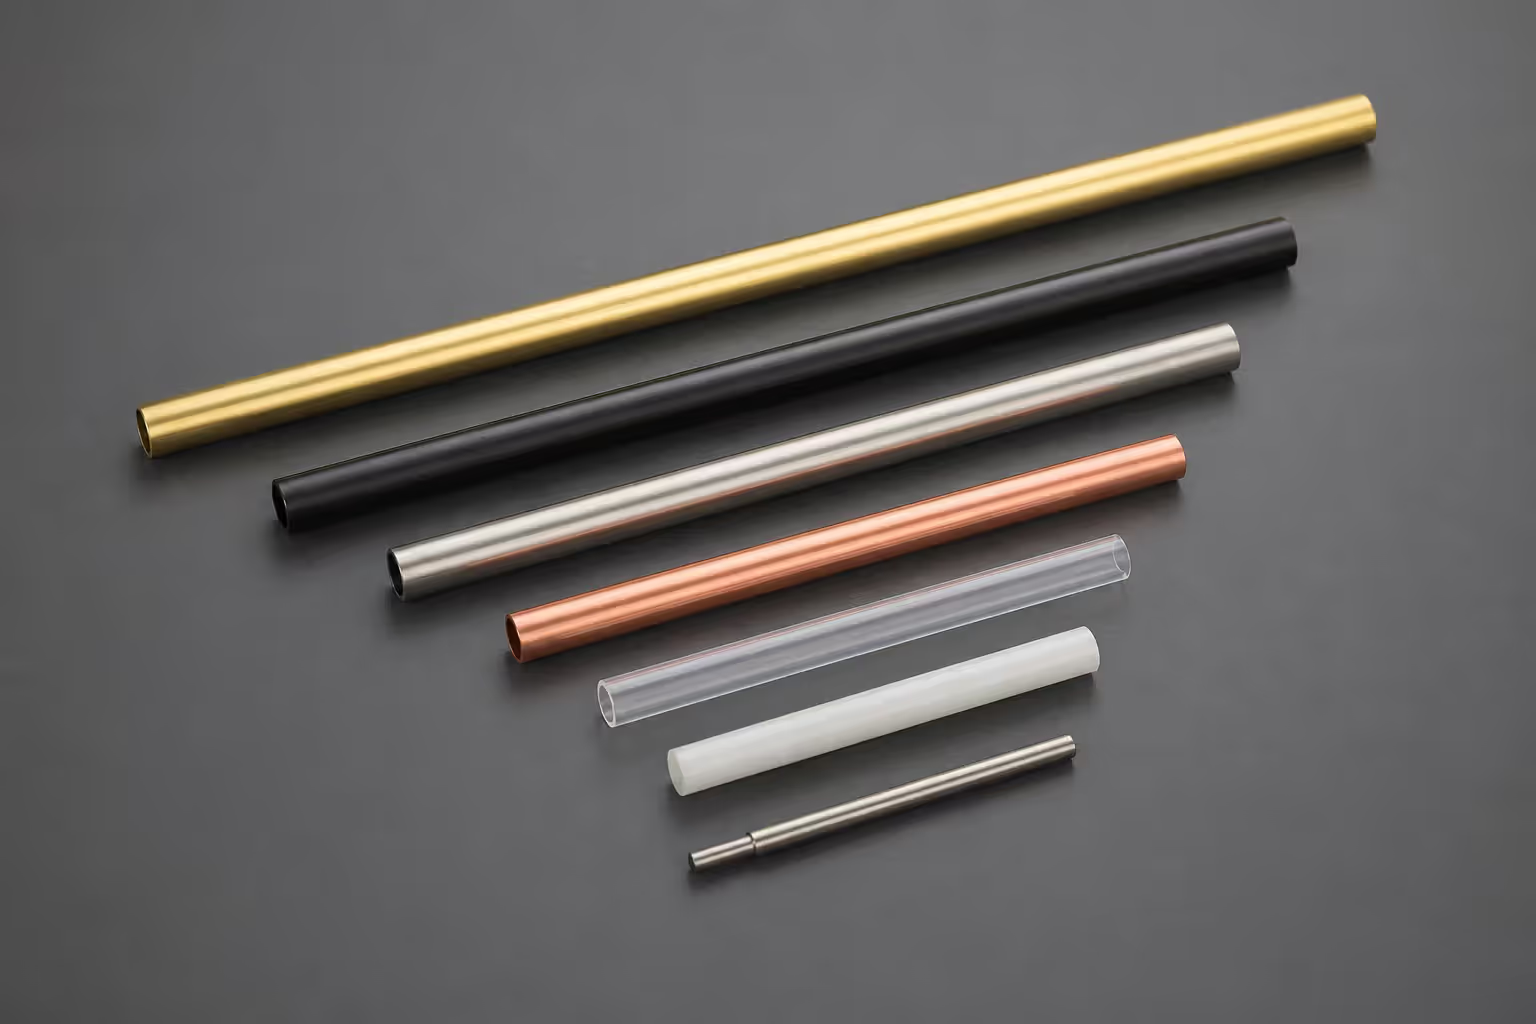
Your barrel guides gel balls from chamber to target. Stock barrels use brass or aluminum with 7.3-7.5mm inner diameters. Quality control? Not great. That inconsistent bore lets balls wobble during flight, which kills your accuracy.
Author: Brandon Kesswick;
Source: lakestaytents.com
Materials make a real difference:
Stainless steel barrels hold the tightest tolerances—7.2-7.3mm diameter with only 0.01mm variation. That precision stabilizes gel balls and reduces the weird spin that sends shots wild. They don't corrode and basically last forever if you clean them occasionally.
Aluminum barrels cost less and weigh less but wear faster. Quality aluminum still beats stock, usually delivering 7.3mm bores with 0.02mm tolerances.
Brass barrels are the budget play. They work fine for casual backyard games but oxidize over time, creating rough spots that mess with gel ball flight.
Barrel length involves trade-offs. Longer barrels (300-450mm) give you more air pressure behind the gel ball, maxing out velocity and range. But they add weight and length, making your blaster less maneuverable.
Shorter barrels (200-250mm) keep things compact but you'll lose 10-20 FPS compared to longer options. For close-quarters indoor games, that's worth it. Open field play? Go longer.
Your cylinder volume needs to match barrel length. The cylinder has to contain enough air to push the gel ball through the entire barrel. Mismatch them and either the ball exits before full acceleration or you're wasting air after it's gone. Most gel blasters use Type 0 or Type 1 cylinders that work best with 300-380mm barrels.
Installing a new barrel:
- Take off the outer barrel assembly
- Find how the inner barrel's held in place (set screw, clips, or press-fit)
- Pull the stock barrel out carefully
- Clean out any debris from the barrel housing
- Slide the new barrel in, making sure the hop-up window lines up right
- Lock it down with whatever retention method your model uses
- Put the outer barrel back together
- Fire some test shots to check feeding and accuracy
Keep it clean: Gel residue builds up inside, creating rough patches that tank your accuracy. Every 2,000 rounds or so, run a cleaning rod with a soft cloth through the barrel. Rubbing alcohol works great for breaking down stubborn residue—just don't use abrasive cleaners that'll scratch the bore.
A gel blaster barrel upgrade typically tightens your groups by 30-50% and adds 5-15 FPS. Match it with quality gel balls (7.2-7.3mm diameter, consistent hardness) and you'll see the difference immediately.
Building a High-Performance Custom Gel Blaster
Complete custom gel blaster builds need planning. You can't just throw random parts together and expect them to play nice.
Start by selecting compatible upgrade parts. Research which models accept standard Version 2 or Version 3 gearboxes—those have the most aftermarket support. Proprietary systems limit your options and jack up costs.
Make a parts list that addresses each performance area: - Internals: 1.3mm spring for 250+ FPS, reinforced piston with metal teeth, aluminum cylinder head, steel gears (13:1 for speed or 18:1 for balanced), high-torque motor - Barrel system: 300mm stainless steel barrel with 7.2mm bore, upgraded hop-up unit with adjustable tension - Electrical: 11.1V LiPo battery, MOSFET to protect trigger contacts, 16-gauge wiring - External: Metal body kit if durability matters, ergonomic grip, adjustable stock
Budget realistically. The strongest gel blaster build with premium components runs $200-300 just in parts. Mid-tier builds hit $100-150.
Here's how to build it:
- Baseline testing: Chronograph your stock blaster first. Measure accuracy at 50 and 75 feet. Note rate of fire. You need these numbers to know if upgrades actually worked.
- Internal upgrades: Install spring, piston, gears, and motor following the processes I covered earlier
- Electrical improvements: Replace wiring and add a MOSFET to handle increased current
- Barrel installation: Fit your precision barrel and dial in the hop-up
- Testing phase: Chronograph again. Verify FPS gains. Listen for mechanical problems like grinding or weak feeding
- Tuning: Adjust hop-up for best range. Shim gears if you hear noise. Check that your air seal is solid
- External finishing: Add grips, stocks, whatever cosmetic stuff you want
Balance FPS against durability or you'll break expensive parts. Pushing past 300 FPS requires metal gearbox shells, reinforced pistons, and stronger components throughout. Plastic parts crack under sustained high stress—usually at the worst possible time.
Think about duty cycle too. How long will you actually run this blaster continuously? Weekend recreational use tolerates higher stress than all-day tournament grinding. Build with some safety margin below maximum component ratings.
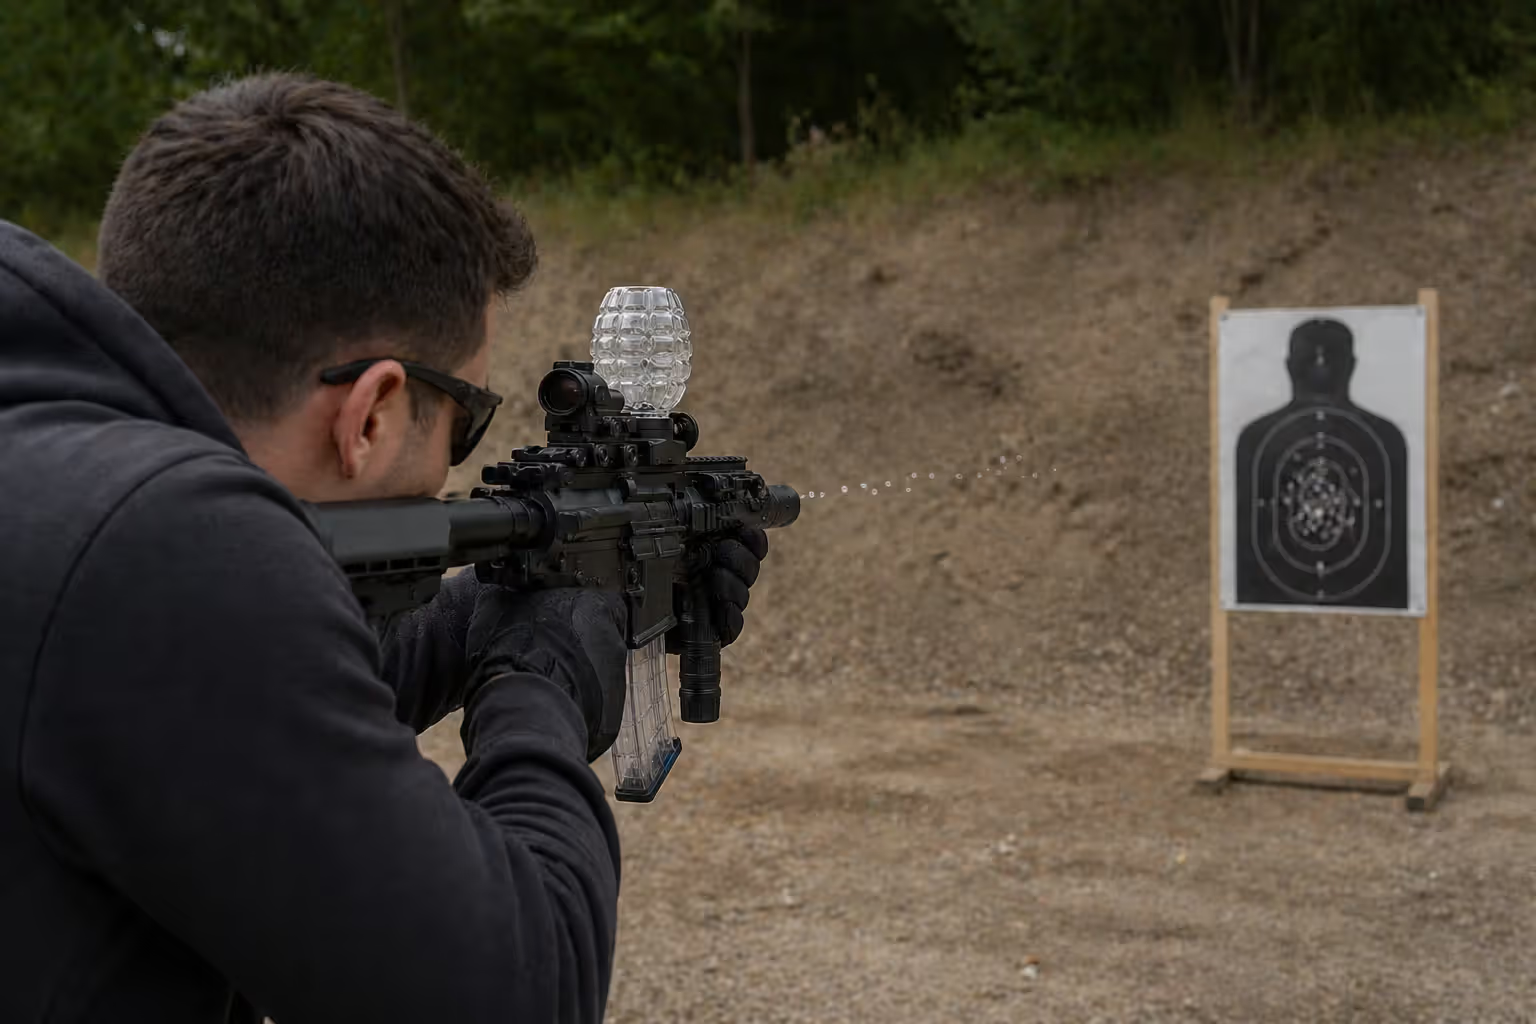
Testing and tuning separate working builds from optimized ones. Fire 500 rounds through your completed blaster, watching for: - FPS that jumps around (air seal problems) - Grinding noises from gears (shimming issues) - Feeding failures (magazine or hop-up problems) - Motor getting hot fast (electrical draw too high)
Your chronograph readings should stay within 5 FPS shot to shot. Wider swings mean air's leaking around the cylinder head, piston, or nozzle somewhere.
Author: Brandon Kesswick;
Source: lakestaytents.com
Common Mistakes to Avoid When Upgrading
Over-springing destroys gearboxes. Stick a 1.4mm spring in a plastic gearbox and it'll crack within 1,000 rounds. Guaranteed. Match spring strength to gearbox material and reinforcement level.
Skipping shimming when you replace gears creates friction that melts bushings and strips teeth. Gears need to spin freely with minimal side-to-side wobble. That requires 0.1-0.3mm shims positioned precisely—there's no shortcut.
Mixing incompatible parts wastes your money. High-speed motor with high-torque gears fights itself. Powerful spring with a weak piston strips teeth instantly. Research compatibility before you buy anything.
Skipping the MOSFET when upgrading to 11.1V batteries burns out trigger contacts within a few months. MOSFETs cost $15-30. Replacing fried trigger assemblies costs $50+. Do the math.
Poor lubrication causes premature wear. Use Teflon-based grease on gears and O-rings. Never use petroleum-based products—they degrade rubber seals and make a mess.
Comparison of Common Gel Blaster Upgrade Parts
| Upgrade Type | Difficulty Level | Cost Range | Performance Impact | Installation Time |
| Spring | Easy | $8-$20 | Adds 30-50 FPS | 30-60 min |
| Inner Barrel | Easy-Moderate | $15-$45 | Adds 5-15 FPS, improves accuracy 30-50% | 20-45 min |
| Motor | Moderate | $25-$65 | Increases ROF or torque by 20-40% | 45-90 min |
| Gears | Hard | $30-$70 | Changes based on ratio (speed vs torque) | 2-4 hours |
| Complete Gearbox | Hard | $80-$150 | Provides foundation for high-stress builds | 3-5 hours |
| Hop-up Unit | Moderate | $20-$50 | Improves accuracy by 20-40% | 30-60 min |
Upgrade Combinations That Work Best Together
Accuracy-focused build: - 300mm stainless steel barrel (7.2mm bore) - Upgraded hop-up with adjustable tension - Moderate spring (1.1-1.2mm for 200-220 FPS) - Standard gears and balanced motor - Result: Tight shot groups, manageable recoil, reliable feeding
High-FPS build: - 1.3-1.4mm spring - Reinforced piston and cylinder head - High-torque motor - Standard or high-torque gears - Metal gearbox shell - Result: 270-300 FPS, extended range, components under higher stress
Rate-of-fire build: - High-speed motor - 12:1 or 13:1 gears - 11.1V LiPo battery - MOSFET - Standard spring (gearbox cycles too fast for heavy springs) - Result: 25-30 rounds per second, aggressive playstyle, battery drains faster
Balanced all-rounder: - 1.2mm spring - 300mm precision barrel - Balanced motor - 18:1 gears - Basic MOSFET - Result: 220-240 FPS, solid accuracy, reliable performance, moderate cost
The biggest mistake I see is chasing FPS numbers without thinking about the whole system. I've seen 280 FPS blasters with quality barrels and properly adjusted hop-ups outshoot 320 FPS blasters with sloppy bores every single time. Get your consistency and accuracy dialed in first—then add velocity if your components can handle it safely.
— Marcus Chen
Frequently Asked Questions About Gel Blaster Upgrades
Upgrading transforms basic gel blasters into precision equipment built for serious play. Whether you're installing a simple spring for backyard games or assembling a competition-ready custom build, understanding how components work together prevents wasted money and broken parts.
Define your goals clearly first. Do you want better accuracy? Higher velocity? Faster rate of fire? Balanced overall performance? Match your upgrades to those specific goals instead of randomly installing parts.
Know your skill level and respect it. Springs and barrels suit beginners perfectly. Gearbox rebuilds demand mechanical confidence and patience. There's zero shame in paying a technician for complex work—a $75 installation fee beats a $150 pile of broken components and frustration.
Test thoroughly after each modification. Chronograph your FPS, shoot for accuracy groups, and listen to how the mechanics sound. Problems reveal themselves before catastrophic failures if you're paying attention.
The gel blaster community has tons of resources. Forums, YouTube channels, local clubs—they all provide guidance specific to your model. Don't hesitate asking questions. Experienced builders remember their first upgrades and most enjoy helping newcomers avoid the common mistakes.
Quality beats quantity every time. One precision barrel outperforms three mediocre internal upgrades. Buy the best parts your budget allows instead of filling a cart with cheap alternatives that'll need replacing soon anyway.
Upgrading isn't just about the end result. The process teaches mechanical skills, creates something uniquely yours, and deepens your engagement with the hobby. Take your time, work carefully, and enjoy building something that's genuinely your own creation.