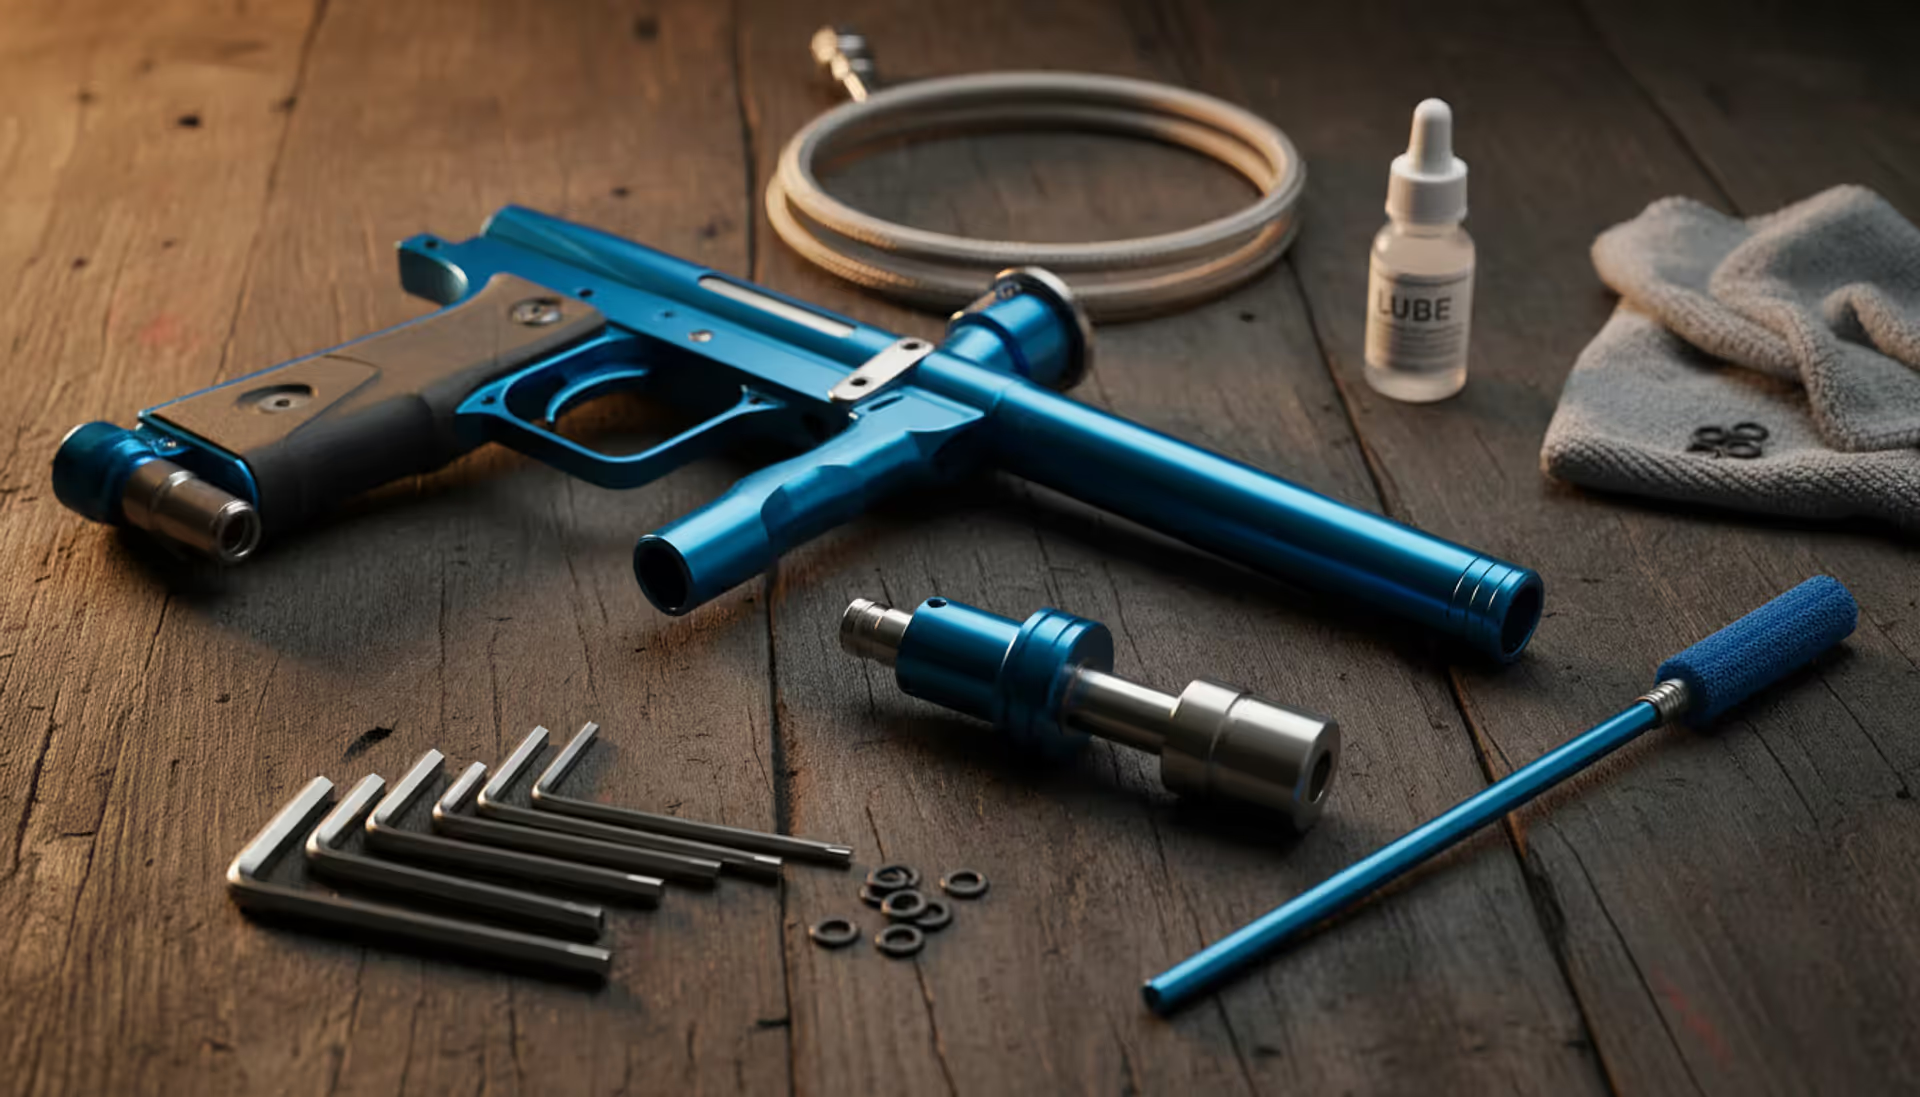
Disassembled paintball marker with cleaning tools on workbench
How to Clean a Paintball Gun?

Content
Proper maintenance separates markers that fire consistently for years from those that choke on paint or leak air after a few months. Most players know they should clean their equipment, but few understand the specific steps that prevent damage while maximizing performance. This guide walks you through the exact process professionals use to keep paintball guns firing accurately.
Why Regular Paintball Gun Cleaning Matters
Paint residue, dirt, and broken shells accumulate inside your marker with every game. This buildup creates friction in the bolt system, clogs air passages, and degrades the rubber seals that maintain pressure. The result? Velocity inconsistency that sends balls curving unpredictably, reduced range, and eventually complete failure to cycle.
Accuracy suffers first. A barrel caked with dried paint can't stabilize a ball properly, turning what should be a straight shot into a guessing game. Then efficiency drops—your tank empties faster because air leaks past worn o-rings you didn't inspect. Finally, internal components seize or crack from operating without proper lubrication.
You'll hear both "paintball gun" and "paintball marker" used interchangeably. The terms mean the same thing, though some fields and organizations prefer "marker" for regulatory or marketing reasons. What matters is the maintenance, not the terminology.
Regular cleaning extends your marker's lifespan by years. A $600 electronic gun left dirty for a season might need $150 in replacement parts. That same marker cleaned after every few outings will still shoot like new five years later. The time investment is minimal—15 to 30 minutes per cleaning session—but the performance difference is immediately noticeable.
Author: Brandon Kesswick;
Source: lakestaytents.com
Essential Tools and Supplies You'll Need
Walk into any pro shop and you'll find dozens of cleaning products. Most players need just a handful of basics that work for any marker type. Having the right supplies before you start prevents the common mistake of improvising with household products that damage seals or leave residue.
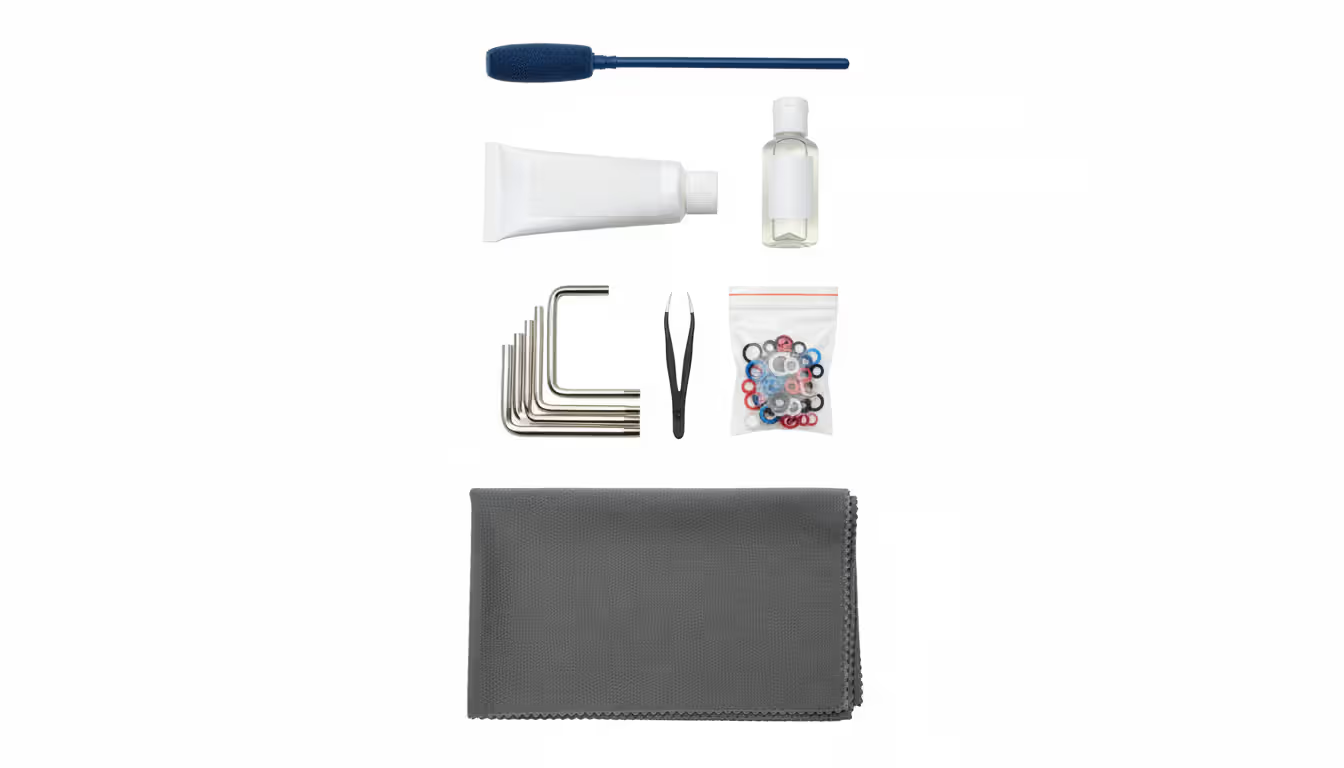
What's in a Complete Paintball Cleaning Kit
A proper paintball cleaning kit includes several specialized tools. The core component is a squeegee or barrel swab—a flexible rod with absorbent material that removes paint from your barrel's interior. Quality kits include multiple swab tips: cotton for general cleaning and microfiber for final polishing.
You'll also need clean shop towels or microfiber cloths for wiping external surfaces. Paper towels shed fibers that contaminate o-rings, so avoid them. A set of Allen keys or the tool that came with your marker is essential for disassembly. Many guns use metric sizes, typically 3mm, 4mm, or 5mm.
The paintball gun cleaning kit should contain lubricant appropriate for your marker's seals, a small pick or toothpick for removing debris from tight spaces, and spare paintball o rings in common sizes. Some kits include a parts tray—helpful for keeping tiny screws organized during disassembly.
Don't overlook spare parts. O-rings cost pennies but keep your marker functional. Buy a variety pack with multiple sizes rather than hunting for the exact diameter when one fails during a game. A small tube of paintball grease and a bottle of paintball lube cover most lubrication needs.
Choosing Between Paintball Grease and Oil
The difference between paintball grease and paintball gun oil confuses many players. They're not interchangeable, and using the wrong one causes problems.
Grease is thick and stays where you apply it. Use paintball grease on o-rings, bolt faces, and any surface that needs long-lasting protection. It resists being blown away by air pressure and handles high-friction contact points. The consistency means you apply it less frequently—every few outings for most markers.
Paintball lube or oil is thinner and flows into tight spaces. It works best for lubricating moving parts like bolt assemblies, rammer systems, and trigger mechanisms. Oil reduces friction without building up excess residue. Apply it more frequently than grease, but use less—a few drops go further than you'd expect.
| Property | Paintball Grease | Paintball Oil/Lube |
| Consistency | Thick, stays in place | Thin, flows easily |
| Best For | O-rings, bolt faces, seals | Moving parts, bolt assemblies, triggers |
| Application Areas | Static contact points | Dynamic friction surfaces |
| Frequency | Every 3-5 outings | Every 1-2 outings |
| Gun Types | All markers, especially mechanical | Electronic markers with complex internals |
Never use automotive grease, WD-40, or kitchen oils. These products contain solvents or additives that swell, crack, or dissolve the polyurethane o-rings in your marker. Stick with lubricants specifically formulated for paintball equipment—they're designed to work with the materials manufacturers use.
Step-by-Step Paintball Gun Cleaning Process
Start by degassing your marker completely. Remove the air tank and fire several shots in a safe direction to exhaust any remaining pressure. Working on a pressurized gun risks injury and makes disassembly difficult.
Lay out a clean towel on your work surface. Good lighting matters—you need to spot small o-rings and inspect parts for wear. Have your tools and cleaning supplies within reach before you begin disassembly.
Remove the barrel first by unscrewing it from the body. Set it aside for dedicated cleaning. Next, consult your marker's manual for the specific disassembly sequence. Most electronic guns require removing the grip frame to access the bolt assembly. Mechanical markers often have a simpler rear-cap removal process.
Take photos with your phone as you disassemble. These references help during reassembly, especially if you're cleaning a new marker for the first time. Keep screws organized—mixing up a long and short screw during reassembly can strip threads or prevent proper closure.
Cleaning the Barrel with a Squeegee or Swab
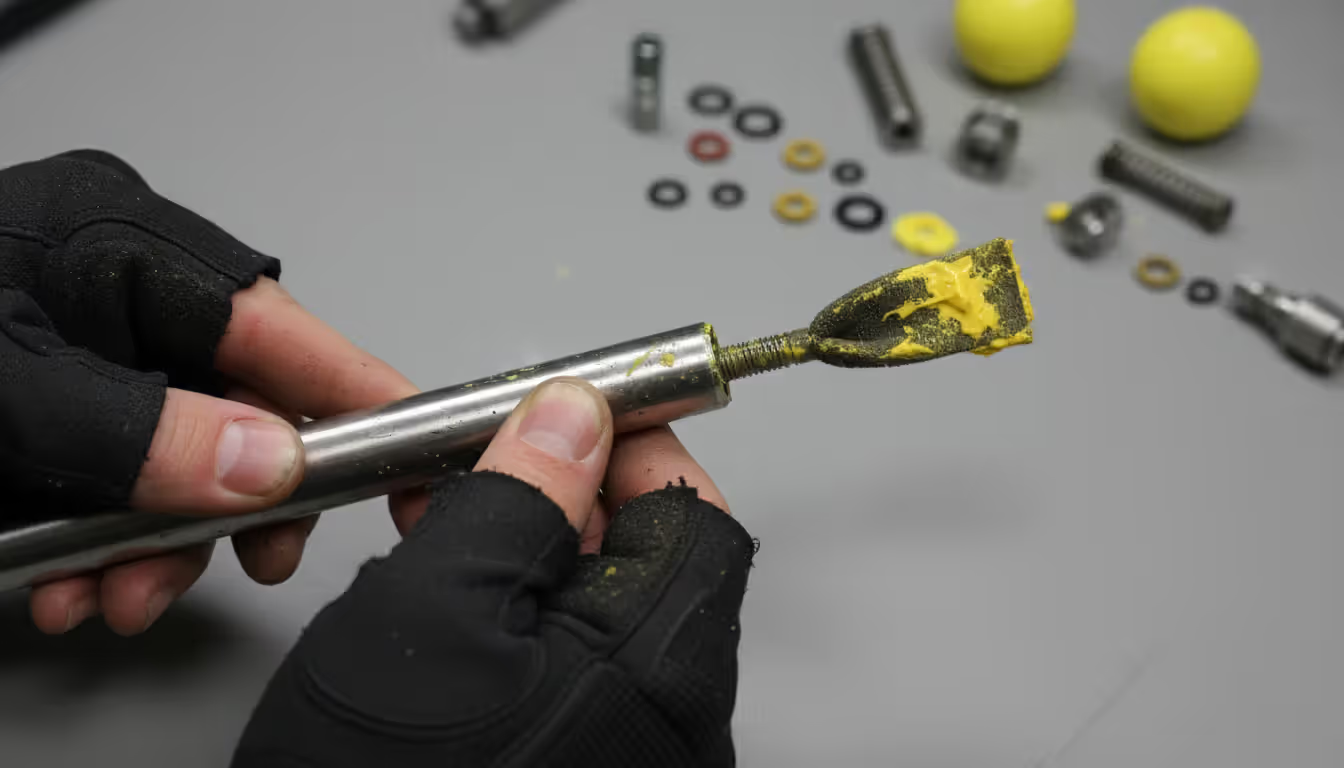
The barrel requires the most frequent attention. Even one broken ball leaves enough residue to affect accuracy for several games. A paintball squeegee or paintball barrel swab makes this task quick.
Push the squeegee through from the breach end (where the barrel attaches to the body) toward the muzzle. This direction prevents pushing debris into your marker's internals. If you encounter resistance, don't force it—you might have a large paint chunk that needs to be broken up first by working the squeegee back and forth gently.
Make multiple passes. The first removes bulk paint, the second picks up residual film, and a final pass with a dry section ensures no moisture remains. Inspect the barrel by holding it up to a light source and looking through it. You should see clean, uniform rifling or a smooth bore with no spots or streaks.
For barrels with porting (holes along the length), use a cotton swab to clean each port individually. Paint dries in these holes and affects sound signature and efficiency. A toothpick works for stubborn dried paint, but avoid metal tools that might scratch the bore.
Some players prefer a traditional paintball barrel swab with a flexible cable design, while others like the rigid push-through squeegees. Both work—choose based on your barrel length and personal preference. Longer barrels (14 inches or more) are easier to clean with flexible swabs that navigate the length without binding.
Author: Brandon Kesswick;
Source: lakestaytents.com
Inspecting and Replacing O-Rings
O-rings are the most critical wear items in any marker. These rubber seals maintain air pressure throughout the system. A single damaged o-ring can cause velocity drops, air leaks, or complete failure to fire.
Remove each o-ring carefully using your fingernail or a plastic pick. Metal tools nick the sealing surface in the marker body, creating leak paths even with a new o-ring. Inspect every ring under good light. Look for:
- Flat spots or indentations from compression
- Cracks or splits in the rubber
- Swelling or unusual softness (indicates wrong lubricant)
- Nicks or cuts from debris
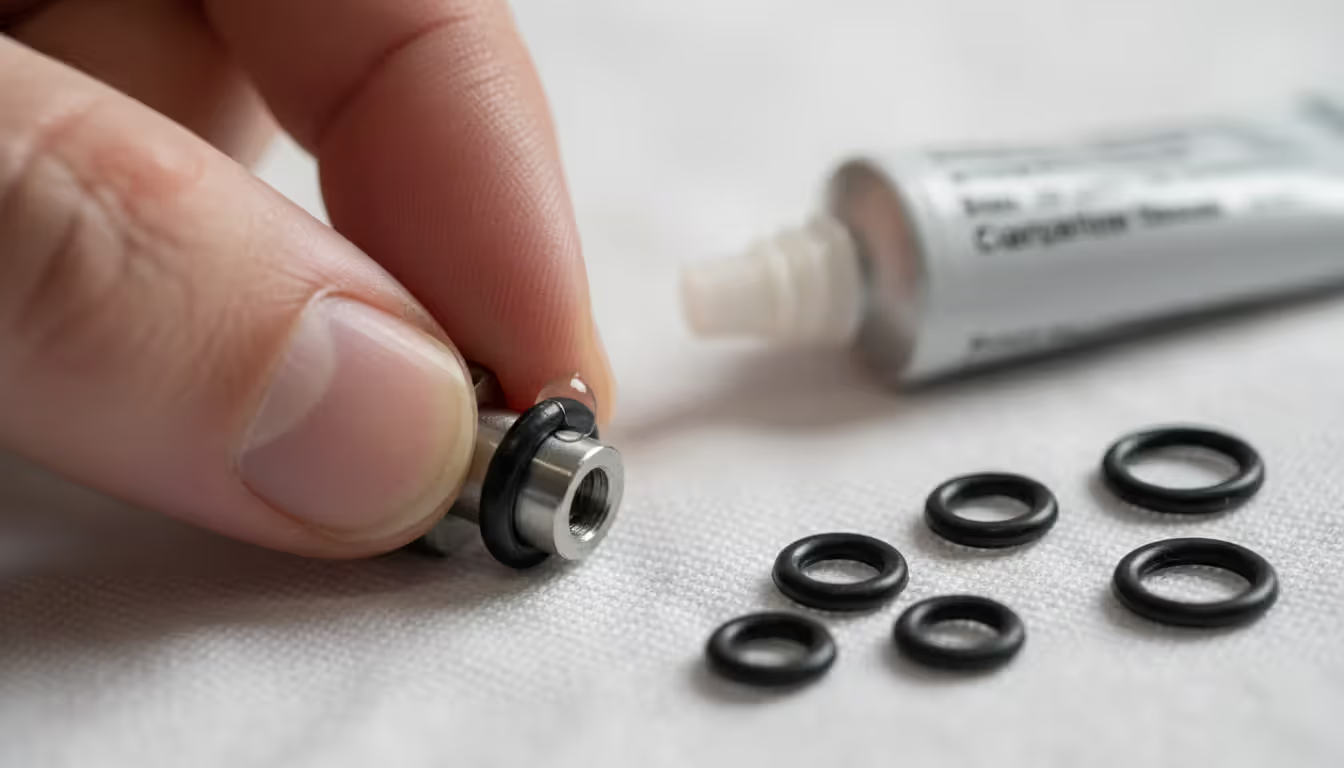
Replace any o-ring showing these signs. Even if it's not leaking now, it will fail soon. When installing new paintball o rings, apply a thin coat of paintball grease around the entire circumference. This lubrication helps the o-ring seat properly and protects against wear.
Roll the o-ring between your fingers to distribute the grease evenly before installation. Too much grease attracts dirt and creates buildup; too little allows friction wear. You want a light, even coating—the o-ring should look slightly glossy but not dripping.
Seat the o-ring in its groove carefully. Make sure it's not twisted or pinched. A twisted o-ring leaks immediately. If the ring seems too tight or too loose in the groove, you might have the wrong size. Check your manual or measure the groove diameter and width to confirm the correct o-ring dimensions.
Where and How to Apply Lubricant
Lubrication points vary by marker design, but several areas are universal. The bolt or hammer assembly needs oil on the shaft and grease on the o-rings. The bolt face—the part that contacts the ball—gets a light coat of grease to reduce friction and prevent ball breakage.
Apply paintball lube to the bolt shaft by putting 2-3 drops on a cloth and wiping the entire length. Excess oil attracts dirt and creates sludge. The goal is a thin, even coating. For electronic markers with solenoid-driven systems, put one drop of oil where the rammer contacts the bolt assembly.
Trigger mechanisms benefit from a single drop of oil at pivot points. More isn't better—excess lubricant migrates onto circuit boards and causes electrical problems in electronic markers. If you see oil pooling anywhere, you've used too much. Wipe away excess immediately.
The air chamber and valve system typically don't need lubrication during routine cleaning. These areas use specialized seals that manufacturers pre-lubricate during assembly. Adding more lubricant can actually cause problems by contaminating the valve seat. Only service these areas if you're experiencing specific pressure issues or following manufacturer-recommended maintenance intervals.
Author: Brandon Kesswick;
Source: lakestaytents.com
How Often Should You Clean Your Paintball Marker
Cleaning frequency depends on usage intensity and environmental conditions. A marker used in dusty fields needs more frequent attention than one used on clean turf. Paint quality matters too—cheap paint with thin shells breaks more often, leaving extra residue.
| Usage Scenario | Cleaning Tasks | Recommended Frequency |
| Casual recreational play | Barrel cleaning, external wipe-down | After every 3-4 outings |
| Regular weekend play | Full disassembly, o-ring inspection, lubrication | After every 2-3 outings |
| Tournament competition | Complete cleaning, all o-rings checked | Before each event |
| Seasonal storage | Full cleaning, heavy lubrication, proper storage prep | Before storage, check every 2 months |
| After paint breaks in barrel | Immediate barrel cleaning | Immediately, same day |
At minimum, clean your barrel after every day of play. This takes five minutes and prevents 90% of accuracy problems. A full disassembly and cleaning should happen every 4-6 games for recreational players, more often if you're shooting multiple cases of paint per outing.
Before tournament play, do a complete maintenance session regardless of when you last cleaned the marker. Competition demands peak performance, and you don't want an avoidable malfunction costing you a game. Many pro players clean their markers the night before an event, then do a quick barrel cleaning between matches.
Seasonal storage requires special attention. Clean the marker thoroughly, apply extra lubrication to all o-rings, and store it in a climate-controlled environment. Extreme temperature swings and humidity degrade seals even when the marker isn't being used. Check stored markers every couple months and cycle the action to redistribute lubricant.
Common Cleaning Mistakes That Damage Your Gun
Over-lubrication ranks as the most frequent error. New players often assume more grease means better protection. In reality, excess lubricant collects dirt, creates sludge in the bolt assembly, and can even cause balls to break in the breach. Use the minimum amount that provides a light, even coating.
Wrong products cause immediate damage. Household oils like WD-40 or 3-in-One contain solvents that attack paintball o rings, causing them to swell and lose their sealing ability. Automotive grease is too thick and doesn't compress properly in the tight tolerances of a marker's air system. Petroleum-based products are particularly destructive—stick with paintball-specific lubricants.
Skipping o-ring inspection is tempting when you're in a hurry. You might clean the visible parts but not check the seals. O-rings fail gradually, and catching wear early prevents game-day breakdowns. Spend the extra two minutes to inspect every ring during each cleaning session.
Forcing parts during reassembly indicates something's wrong. If a bolt won't slide smoothly or a cap won't thread easily, don't apply more force. You might have misaligned an o-ring, cross-threaded a component, or missed a step in the assembly sequence. Back up, check your photos or manual, and identify the problem. Stripped threads and cracked bodies result from forcing misaligned parts.
Using compressed air to "clean" internal parts blows debris deeper into the marker rather than removing it. High-pressure air also damages delicate electronic components and forces contaminants past seals. Use cloths and swabs for cleaning—save compressed air for its intended purpose of propelling paintballs.
Neglecting the exterior seems harmless but leads to problems. Dirt on the outside eventually migrates inside during disassembly or through vents. Wipe down your marker's exterior after every game. Pay special attention to the ASA (air source adapter) threads and the breach area where paint residue accumulates.
Author: Brandon Kesswick;
Source: lakestaytents.com
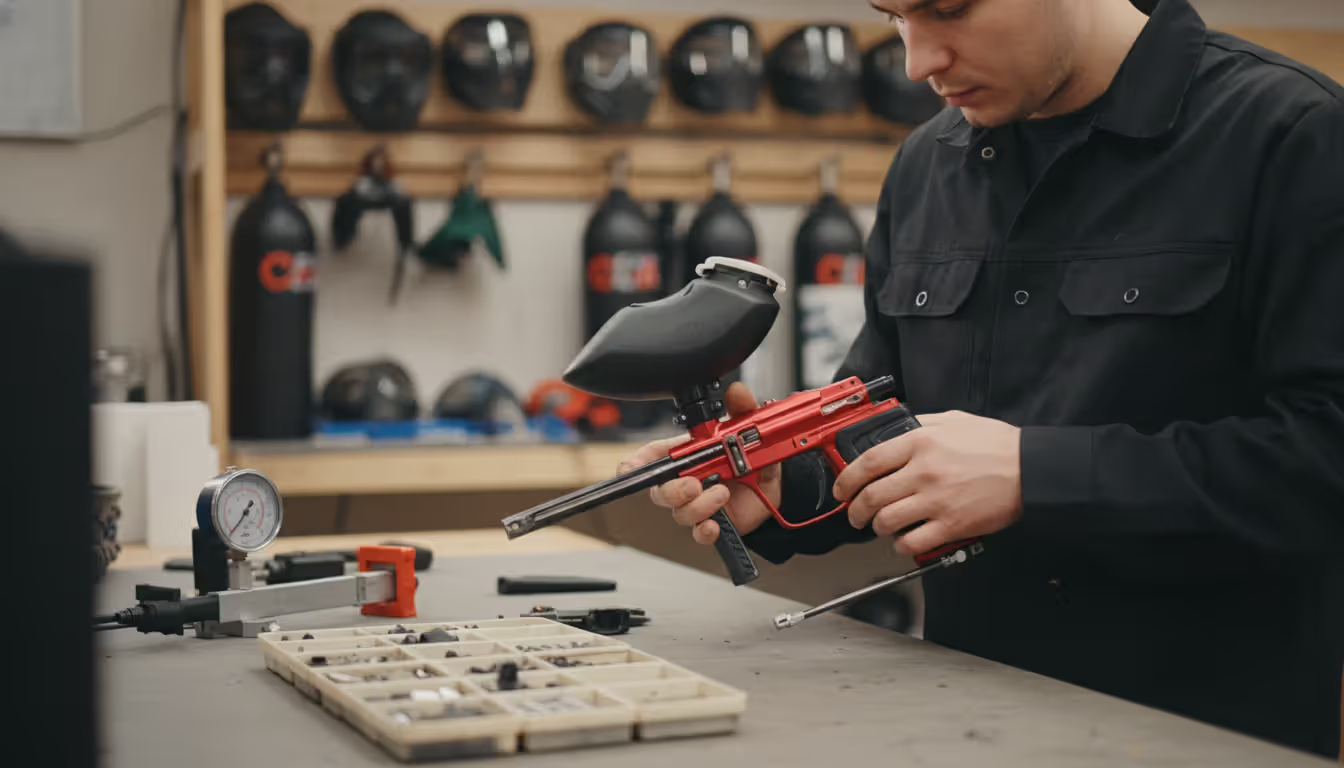
When to Consider Professional Paintball Gun Repair
Some issues exceed routine maintenance. If your marker won't maintain velocity despite fresh o-rings and proper lubrication, you might have valve seat damage or regulator problems. These repairs require specialized tools and knowledge of pneumatic systems.
Persistent leaks that don't resolve with o-ring replacement suggest body damage or warped sealing surfaces. A professional can identify whether the issue is repairable or if you need replacement parts. Electronic markers with circuit board problems—erratic firing, failure to respond to trigger pulls, or error codes—need someone familiar with that specific model's electronics.
Physical damage from drops or impacts often creates problems you can't see. A cracked body might leak only under pressure, making it difficult to diagnose. Technicians have pressure testing equipment to identify these issues. If your marker took a hard hit, have it inspected even if it seems to work normally.
Look for technicians certified by major manufacturers or with extensive experience on your specific marker brand. Many paintball fields have a tech on staff or can recommend qualified repair services. Expect to pay $40-80 for diagnostic work and minor repairs, more for complex electronic troubleshooting or part replacement.
Preventive maintenance by a professional makes sense for high-end markers. An annual tech inspection catches developing problems before they cause failures. This service typically includes pressure testing, chronograph verification, and replacement of wear items. The cost is modest compared to major repairs or lost tournament opportunities.
The biggest mistake I see is players waiting until their marker stops working to do any maintenance.By that point, what could have been a $5 o-ring replacement becomes a $200 repair because damaged seals let debris contaminate the entire air system. Clean your marker after every few games, and you'll avoid 95% of the problems that come through my shop
— Marcus Chen
FAQ: Paintball Gun Cleaning Questions
A clean paintball gun performs predictably, shoots accurately, and lasts for years with minimal repairs. The 20 minutes you spend on maintenance after every few outings prevents hours of troubleshooting and hundreds of dollars in avoidable repairs. More importantly, proper cleaning means your marker works when it matters—during that crucial tournament point or when you finally have a clear shot on a flag runner.
Build a routine around your play schedule. Keep your cleaning kit in the same bag as your marker so you're never without the right tools. Take photos during your first few cleaning sessions to build confidence with disassembly. Within a few repetitions, the process becomes second nature.
Pay attention to your marker's feedback. Unusual sounds, changes in kick, or inconsistent velocity signal developing problems that cleaning might resolve before they become serious. The players who maintain their equipment consistently are the ones still shooting the same marker five seasons later, while others are shopping for replacements.
Your marker is a precision pneumatic tool. Treat it with the same care you'd give any piece of equipment you depend on. Regular cleaning isn't just maintenance—it's the difference between a marker that's merely functional and one that gives you a competitive edge every time you step onto the field.